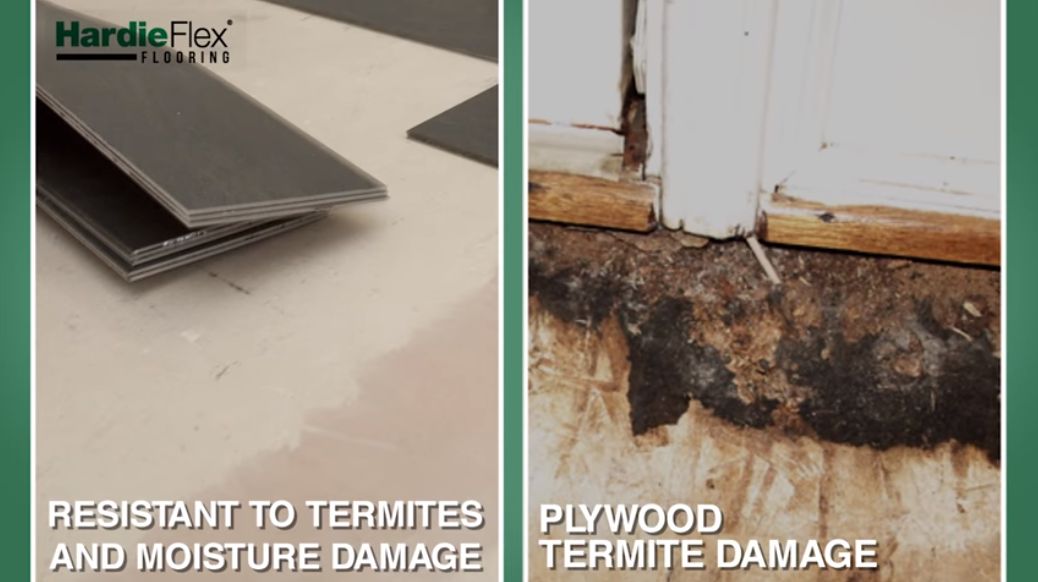
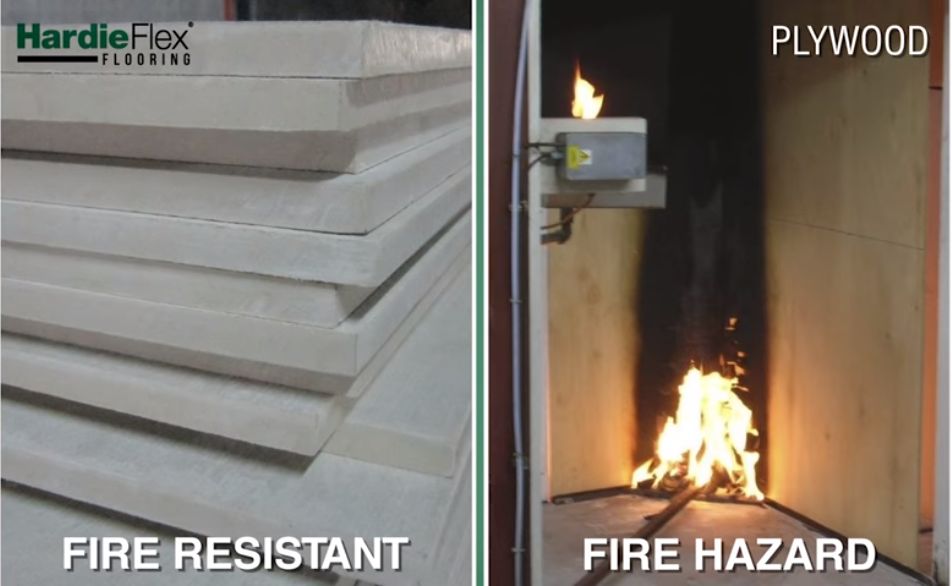
Did you know that you can use Hardieflex as flooring material? It’s not only durable, fire-proof, and termite-proof, it’s also easy to install and may be moisture-resistant with proper installation.
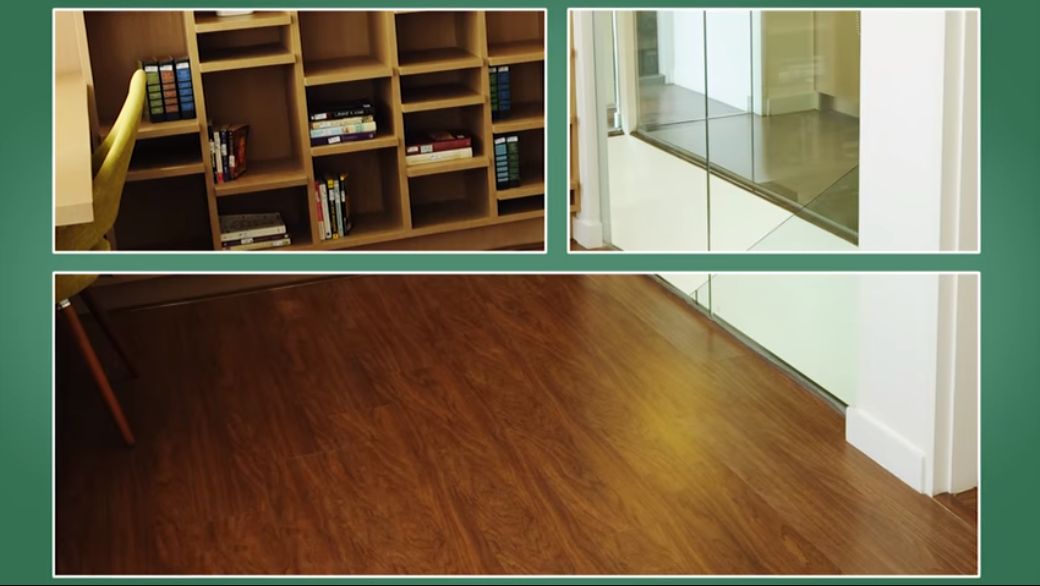
It’s a good base for the flooring, providing you with a durable, strong floor that doesn’t require a lot of time to install. The top can be finished with any finishing material you want, creating rooms that look good.
This may also be used for stairs and stairs landing, but make sure that all the edges are supported by the joists.
There are many types of Hardiflex construction materials. Make sure you’re using HardieFlex Flooring 16.0mm as a flooring substrate for internal residential applications.
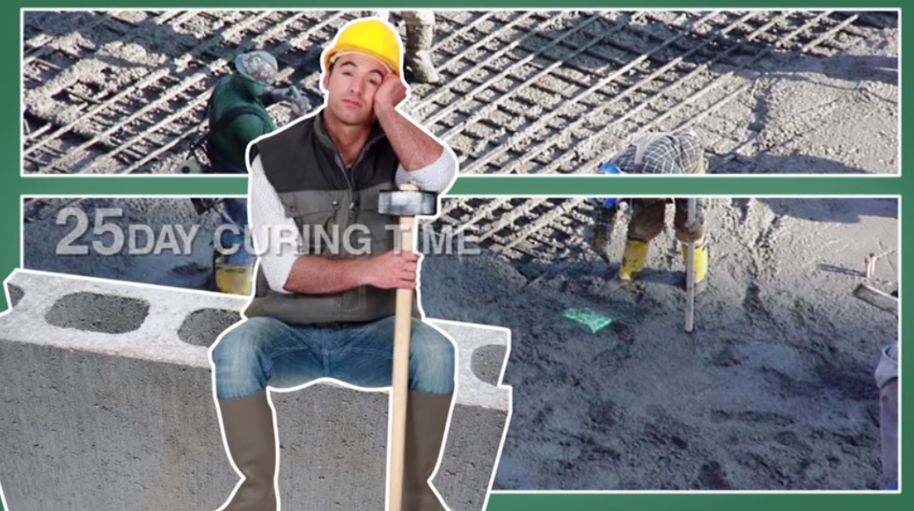
Instead of waiting for a long curing time of 24 in cement flooring, Hardieflex flooring may already topped with your desired finish after 3 days of installation.
Made of fiber cement, it can easily adapt to various types of finishing, such as ceramic tiles, wood laminates, carpet, or linoleum.
How to Install Hardieflex Flooring
You don’t need to have professional training to install Hardieflex flooring.
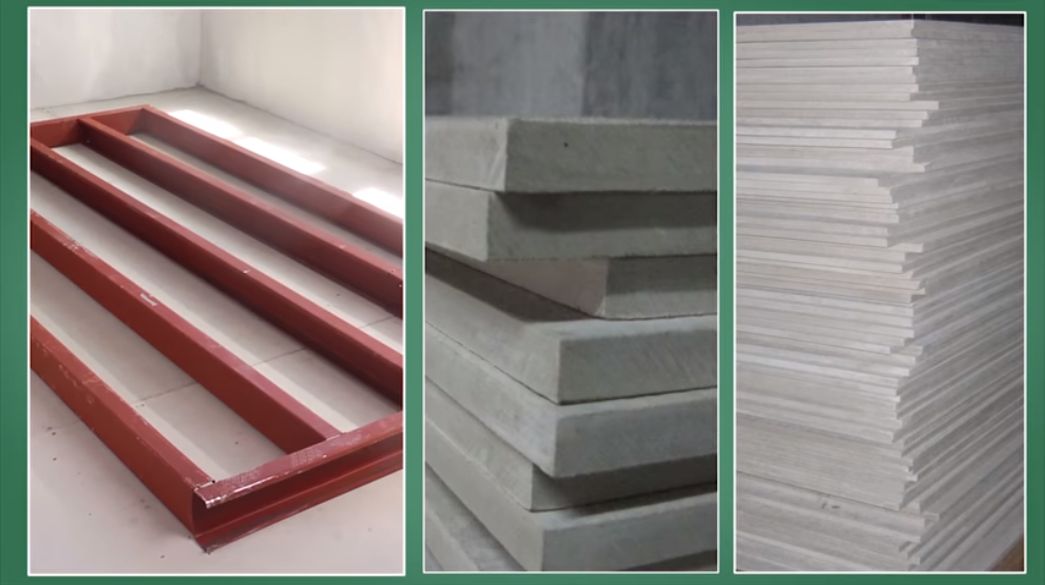
Step 1. Making the framing.
Framing should be 1.22 mm to 1.6 mm BMT, with a maximum width support of 300 mm. Make sure that the floor joists are straight and level.
Step 2. Installing the Hardieflex sheets.
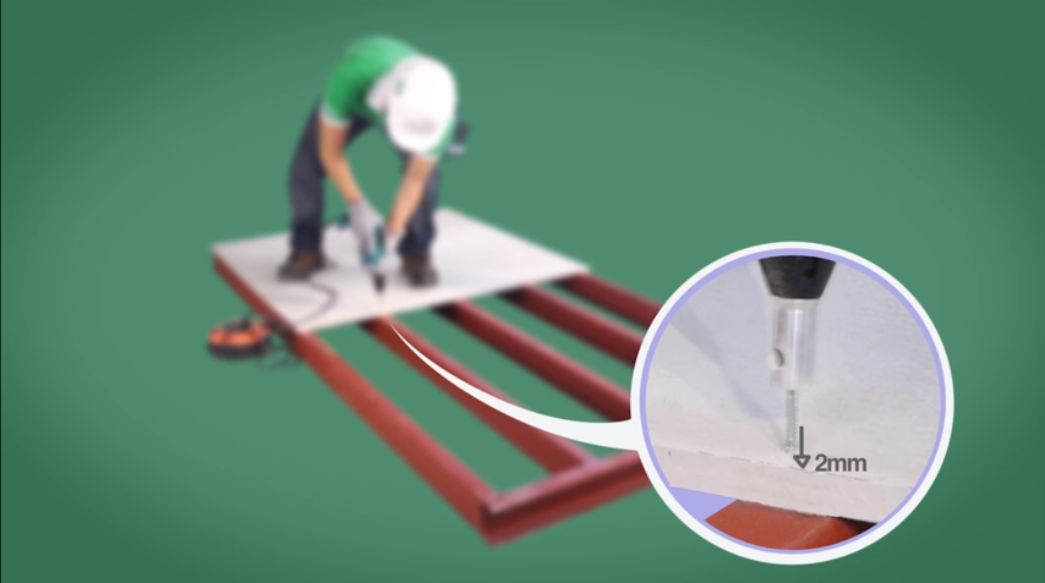
Apply construction adhesive to all the joists, carefully placing a continuous line across the joists. Using a screw gun and with someone’s assistance, install the first sheet using a screw gun. Overdrive the screws to a depth of 2 mm.
Make sure to leave a 3-mm gap between the Hardieflex flooring and the adjoining walls. This will help absorb any movement or expansion between the joining materials.
Take note also of the proper spacing when you install the sheets. The minimum corner distance is 50 mm while the minimum edge distance is 12 mm.
Step 3. Sheet jointing.
Thoroughly clean the edges of the Hardiflex sheets using a brush. Butter the edges of the installed sheet and the sheet to be installed with epoxy.
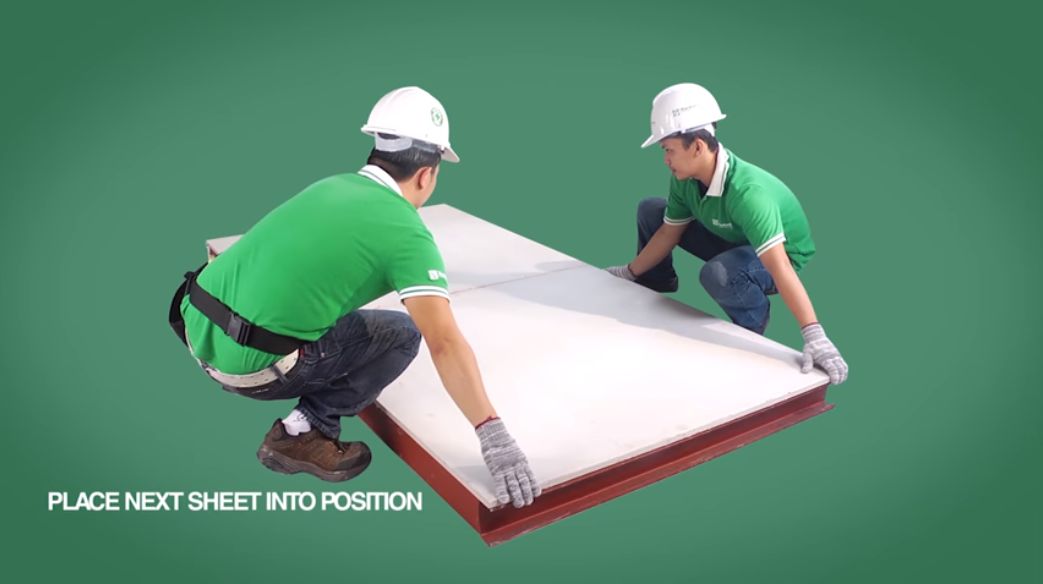
Repeat previous step on installing the first Hardieflex sheet. Apply the adhesive and firmly place the second Hardieflex sheet into position, making sure that the edges of the two boards are aligned.
Take note that Hardieflex flooring must be installed across the floor in a staggered sheet layout, with the short sheet edges fully supported by the joists.
Secure the second sheet with screws, again making sure to overdrive the screws.
Step 4. Clean the boards.
Remove excess epoxy using a spatula. Then, cover the screw holes with epoxy. Make sure that everything is smooth and ready for finishing.
Step 5. Applying the finishing material.
Hardieflex flooring is meant to be a flooring substrate only, not the finished flooring. Using it as the finished flooring will damage the board itself and scratch the coating.
Apply the finishing material you want. For frequently wet areas such as bathrooms and toilets, a third-party waterproofing system must be applied in the whole area.
Watch the tutorial video here: